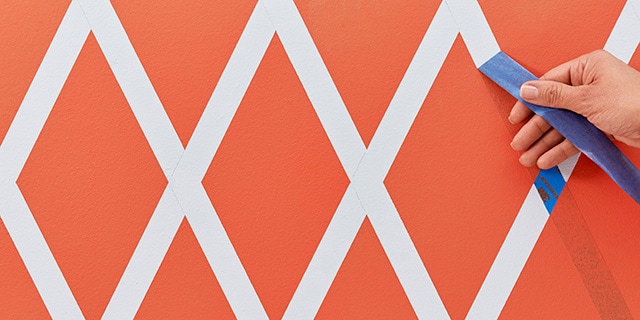
Taping Shapes
Here’s a way to personalize your space and have fun experimenting. Paint shapes on different surfaces around your home, to add visual interest or to make a room feel up-to- date without changing your style.
Here’s a way to personalize your space and have fun experimenting. Paint shapes on different surfaces around your home, to add visual interest or to make a room feel up-to- date without changing your style.
Here’s a way to personalize your space and have fun experimenting. Paint shapes on different surfaces around your home, to add visual interest or to make a room feel up-to- date without changing your style.

-
Show Your Creativity
Use shapes to create subtle accents around picture frames. Or, add them to existing wallpaper and other already patterned surfaces for an interesting contrasted look. Check out our Creative Techniques page for links to more ideas. For freshly painted surfaces (at least 24 hours old), 3M recommends ScotchBlue™ WALLS + WOOD FLOORS Painter’s Tape. And be sure to visit our How to Tape page for basic paint prep and tape removal tips.
Step By Step
-
 Prepare Surface
Paint your basecoat and let it dry 24 hours, or skip this step and choose an existing surface.
-
 Draw Shapes
Use a pencil to lightly draw your shapes on the surface. You can do this free-hand, use a pencil and ruler, or cut a shape out of cardboard to use as a template.
-
 Tape
TapeTape around each shape, making sure you protect all areas that should not be painted. And, keep pencil lines inside the border of the tape.
-
 Paint and Reveal
Paint your shapes, and then allow paint to dry for at least 24 hours. Slowly remove the tape to reveal your finished design.
Prepare to Be Inspired
Check out how our creative partners are using this technique to add splashes of color around their homes in brilliant and interesting ways.


